|
We've all had that thought that a basic pottery kit is a ball of clay, a wheel, a hard surface, and maybe a vessel for water. You learn pretty quickly that pottery is a hobby or career path that requires ALL the things.
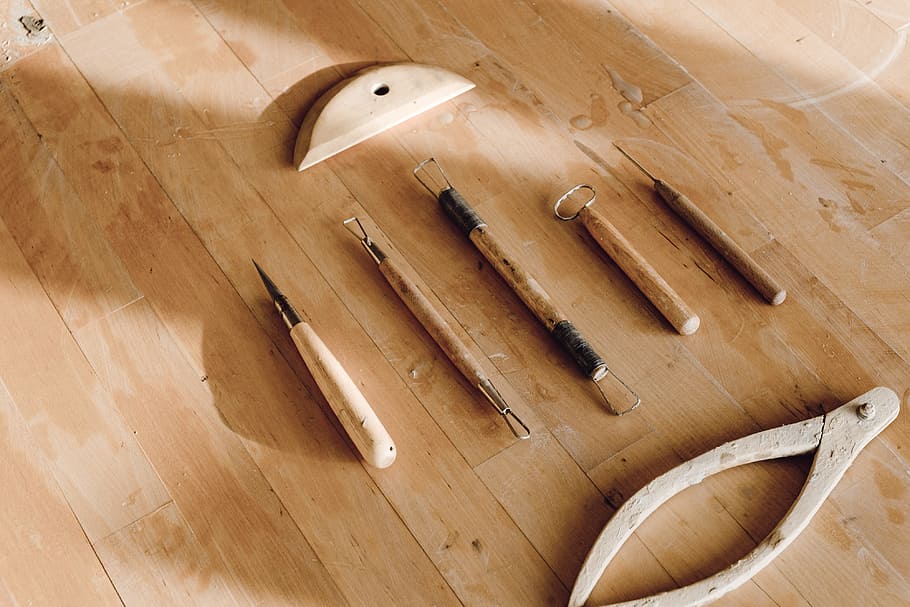
If you've been practicing this art for longer than 2 weeks you'll have discovered that your tool options are endless! There's so much choice, and so many price points. It might be tempting to run out there (or onto the internet) and grab the first beginners pottery toolkit that you come across. I want you to resist that urge. Why? Because not all pottery tools are made equally. And not all beginners pottery tools really cut it in the long term. While some of the beginners sets have good price points you'll actually do much better if you buy sturdy tools, you know, the ones that will last! It'll teach you better technique and save you money in the long run. I've written this for my students who are want to start practicing at home or students attending pottery schools that don't provide the tools you need. I've put together a list of my favourite must have pottery tools here. I'm not paid to share these with you, they're honestly my favourite ones out there: 1. KSP1 Special Ribbon Tool by Kemper ($9 CAD) Designed for medium duty pottery and sculpture work, this tool has sharpened stainless steel bevelled ribbon ends attached to a hardwood handle. Approximately 7" long. Through Amaranth Stoneware. 2. Polymer Rib - Shape 1 by Mudtools ($10.95 CAD) My favourite is the blue one (it's firm), but if they're out of stock the red one will serve you just as well (medium firmness). They're an extension of your hand. Amaranth Stoneware describes them best: "These traditional kidney-shaped ribs are the most universally recognized pottery tool. They fit well in the hand and are useful for sculpting, hand building and throwing clay. The Shape 1 Polymer Ribs are our best seller. You need one in your toolbox. Really, you do...Because it acts as an extension of the potter’s own hand, we believe it should function well and be a joy to use." 3. PRO Pin Tool By Kemper ($6.00 CAD) There are so many options for tools like this. I'm going to warn you right now - stick with a metal handle. It's going to last longer! Again, this is from Amaranth Stoneware (my go to place for tools). It's best used for cutting thick clay (precisely), making holes, and working your intricate designs. You can get it here. 4.S4 Flexible Metal Scraper by Kemper ($4 CAD) A stiff course brush designed for use on hard greenware. You can get it here. 5. 8" Wood Modelling Tool WT6 by Kemper ($9 CAD) The site explains it best: "Used for cutting, slicing, smoothing, contouring, and pattern decorating in soft clay. This tool is excellent for modeling and sculpting forms in soft clay. Great to undercut pots on a wheel." 6. Blue Bat 12" by Speedball ($12.95 CAD). Plastic bats will be your friend on the wheel. They're easy to clean, less likely to warp and the blue makes them easy to see and remember. Remember, if you're marking this one with your name you'll want to be double checking it often to make sure there is no erasure (or peeling if you use tape). You can read more about bats here. As a student, you should aim to have 2 blue bats and 4 green square bats (these can also be found at Amaranth Stoneware). I also think that having these Shimpo Bat Pins will help you greatly when it comes to setting up shop or starting at a new studio. TIP: If you're practicing in a shared studio make sure you put your name on them with a really sticky tape and/or permanent marker. Things can go walking or be misplaced. You're making an investment and you definitely want your tools to come back to you. A QUICK NOTE: If you take a class with Krista Cameron Pottery, you don't have to bring your own tools because we provide them for you. And we provide a lot of them! For the full 8 week classes, you only pay extra for clay. The beginners classes have everything included!
Want to see the quick list?
What's on your beginners pottery list?
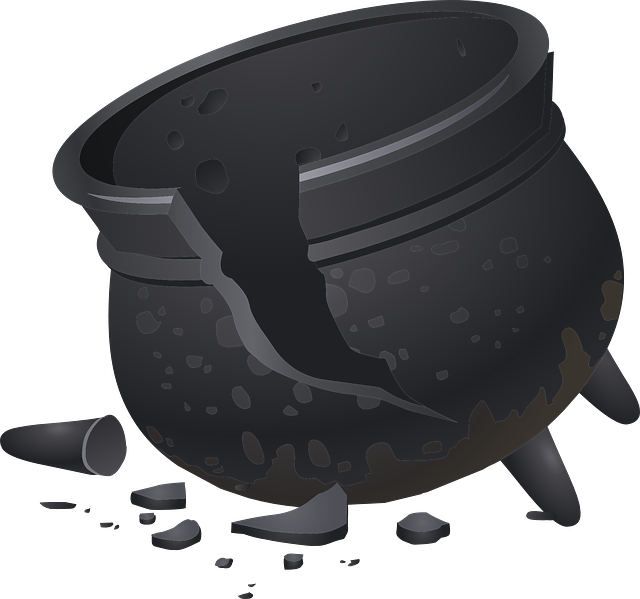
There's nothing worse than hearing an explosion. Especially for me, because it means that someone's dedication and hard work has ended horribly.
Pottery explosions happen in the kiln. They're easy to avoid but it happens more than you'd think. It all starts with thinking about moisture. When we fire pieces we absolutely need them to be dry and solid! Explosions happen because your piece hasn't dried evenly, which causes steam to build up. The thing with steam is that it has to go somewhere...and when it's in the kiln it goes through your piece...with force. The second reason for explosions are air pockets. When your piece is in the kiln it burns...in a cool way. The organic matter in the clay combusts, which is usually fine, but if your piece isn't solid and has a hidden air pocket then the steam from the organic matter builds up - and again has no where to go except through your piece. How Do You Avoid Explosions? Keep your pieces thin(ish). While you want your pottery to have substance (otherwise they will crack), you also want to keep them nice and slim. It’s all about balance. Pottery with clay walls or sections over 2 cm thick may explode in the kiln. If you are making a thicker piece then take the time to ensure your piece has been hollowed out where possible for air flow. In Conclusion... Keep it thin or hollowed. Air flow is the most important part of ensuring explosions are kept to a minimum. We've been running beginners classes for some time and I'm here today to share a few words from my past newbie students.
In the slideshow below you'll see examples of beginner pottery standards and information about our classes. After all, if you're going to take pottery lessons you should know exactly what people like you thought about them! |
Krista CameronOffering pottery classes to adults and kids in Athens, Brockville, and Kingston, ON. Archives
July 2024
Categories
All
|


 RSS Feed
